Page 1
Page 2
Page 3
Page 4
Page 5
The Pieces in the Kit
Buy a Jenter kit
Beginning the process of making your own Queens:
Day 1
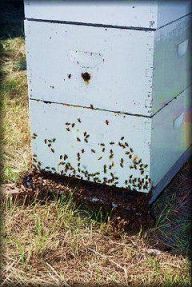
The best time to start using your Jenter Kit is in early May. You will want to choose a strong colony which has a double brood box.
The first thing to do is to confine the Queen to the bottom brood box using a Queen excluder. You will
then want to arrange the top brood box with frames of eggs, young larvae and sealed brood as this will provide the required
extra nurse bees.
Day 5
After allowing a few days for the hive to settle, return to the hive and select a Queen that you wish to use for laying eggs.
Place her in the Jenter cage and then return to the brood. You will now want to leave her to lay.
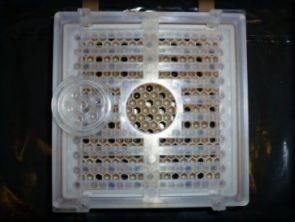
Day 6
Having left the Queen in the Jenter cage for 24 hours, return to the hive and check that she has laid eggs into the
Jenter. If she has then release her back into the brood.
Day 8
On day eight, remove the bottom brood box of the double brood setup. You will have to find and remove the queen and relocate most of the bees into the top box after placing on the floor board.
Ensure that sufficient space is left so that two frames can be inserted the next day. Also, check that no eggs or larvae are in this brood because they will attempt to raise queen cells.
The remaining queen and bees can then be moved to another site. You could also newspaper over a queenright colony with an excluder as a temporary measure to supplement her workers.
Day 9
Today, you will have to take the cell cup from the rear of the Jenter cage which has the day old larvae. Place this into the insert cell and then into the cell carrier.
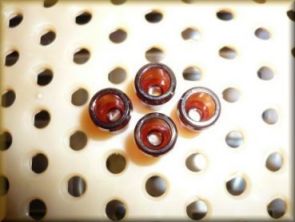
Place these into the cell carrier rack and put into the queenless brood box. This will have to be left for approximately nine days so that the cells can be sealed.
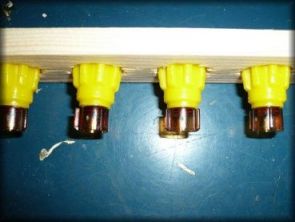
Day 19
After the cells have been sealed, prepare some nuc's to house them. Cover the cells with cages in case they hatch,
otherwise the first queen out will kill all of the others. Once in the nuc's feed and locate where plenty of drones are available for fertilisation.
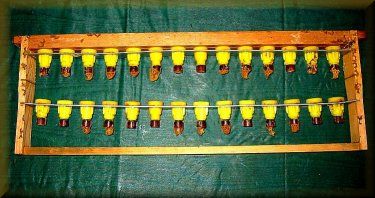
You should now be extremely excited! Your frame should look something like the one below:
To continue to Page 5, please click here...